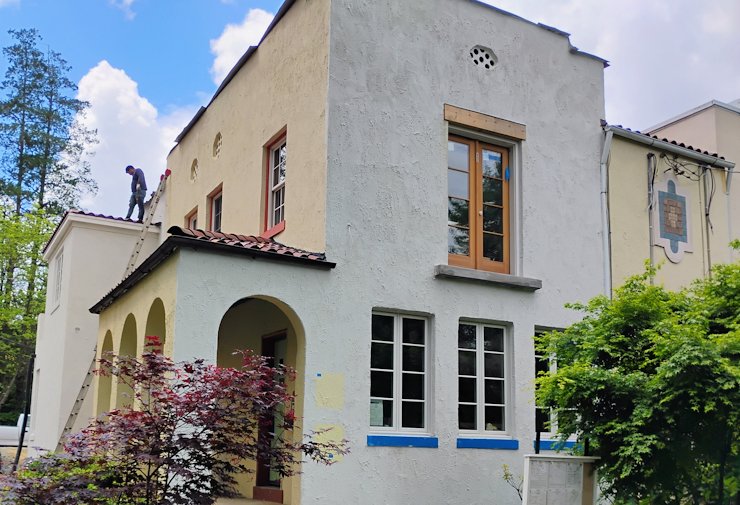
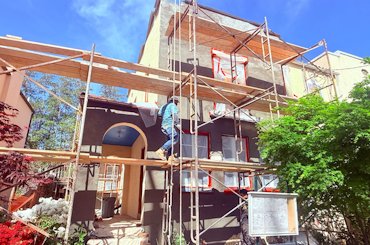
1926 Spanish townhouse
in Washington, DC
Here's how we did it:

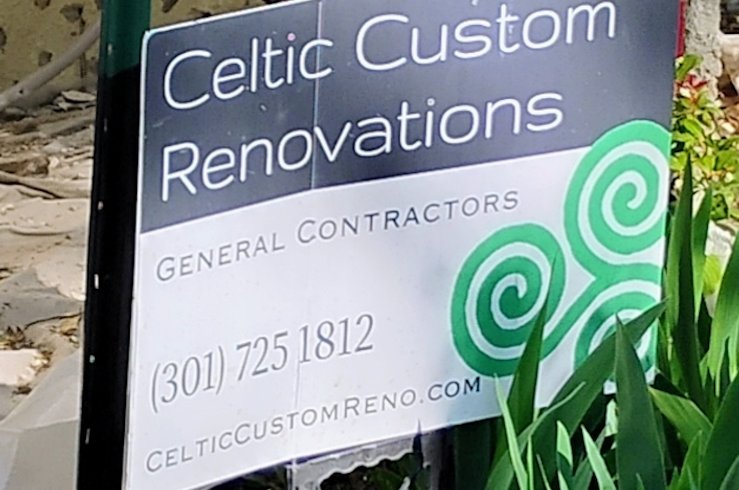
We did this work for Celtic Custom Renovations. If you need remodeling in Washington, DC, give them a call.
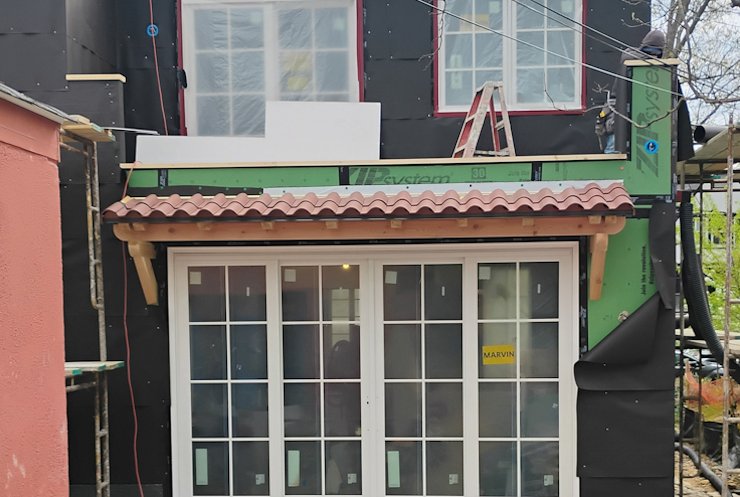
We put tar paper on the zip wall. They say you don't need an additional vapor barrier with zip wall, but
I want to make sure this never fails.

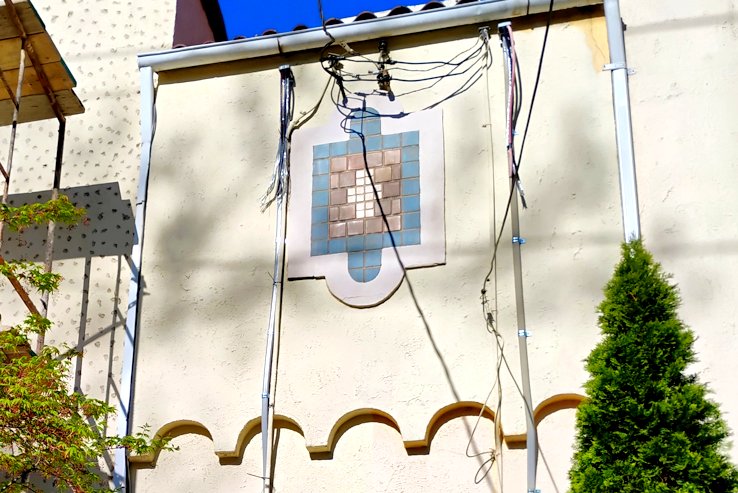
Area between the townhouses have this nice mosaic inlay and decorative arches. Too bad
the ingrates at PEPCO put these ugly cables and electric boxes on the wall.

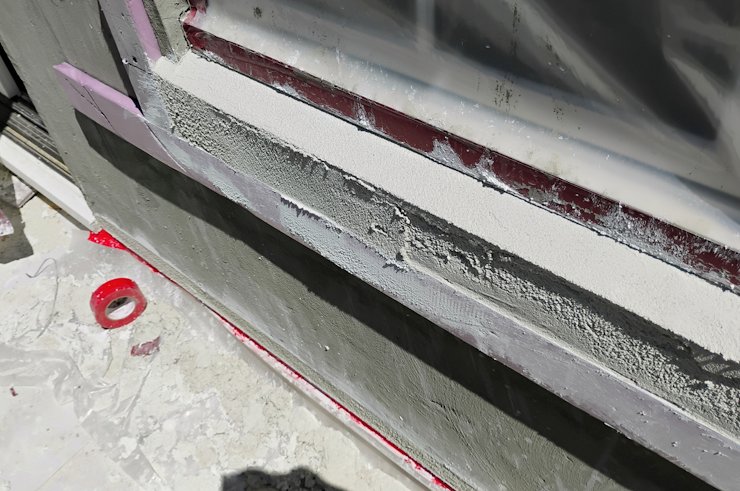
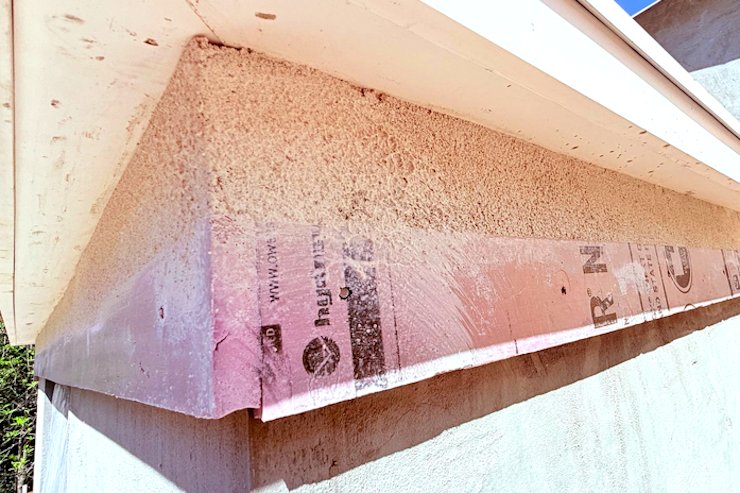
We formed the window sills with styrofoam and filled in with cement mortar. Don't worry, the foam is temporary. I would never put styrofoam on somebody's house.
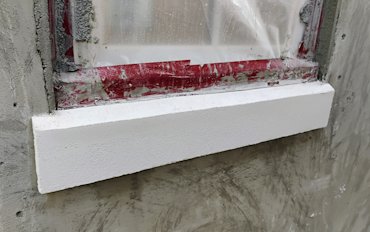
Solid cement sill is correctly angled at the top. I hate to see people put styrofoam below a window.
Water runs off the window and is absorbed into the styrofoam, rotting everything behind it.
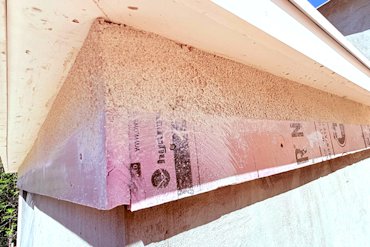
We formed the decorative band at the top the same way and filled in with white portland cement and white sand.
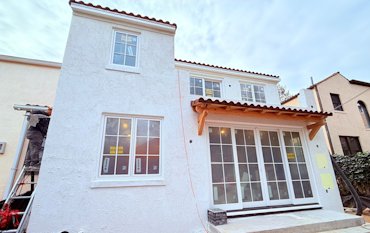
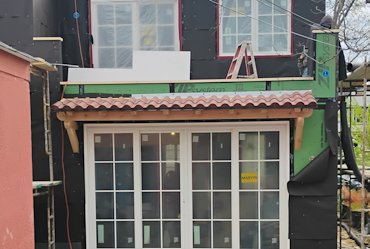
Back of house finished.
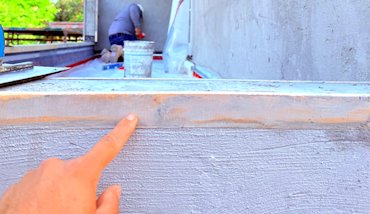
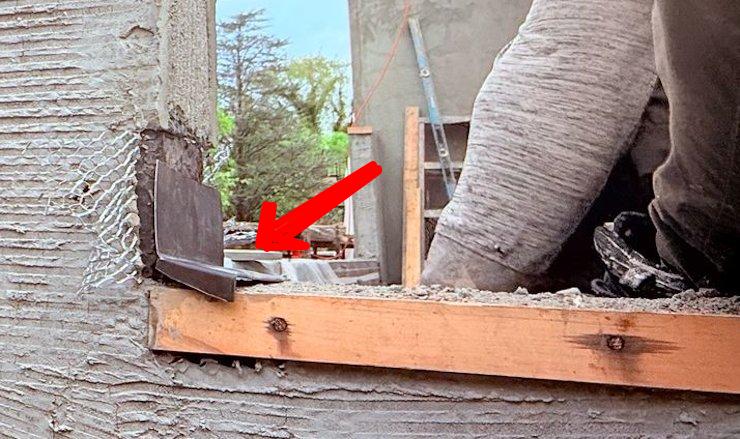
This is important. A wood furring strip is nailed on the edge of the balcony. The wall is straightened
to the furring strip. The strip is a nailer for the coping, the 3 sided flashing that covers the top. This provides a secure and frustration free nailing surface to screw the coping to.
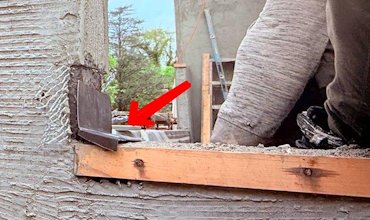
THIS IS REAL IMPORTANT. This flashing is put on the corners of the balcony and sides stuccoed over.
The coping on the balcony will slide under this flashing. We stuccoed a balcony about 25 years ago
that leaked at these corners. This won't leak.

Finished balcony showing the flashing. The coping will slide under this flashing and will be screwed to the furring strips.

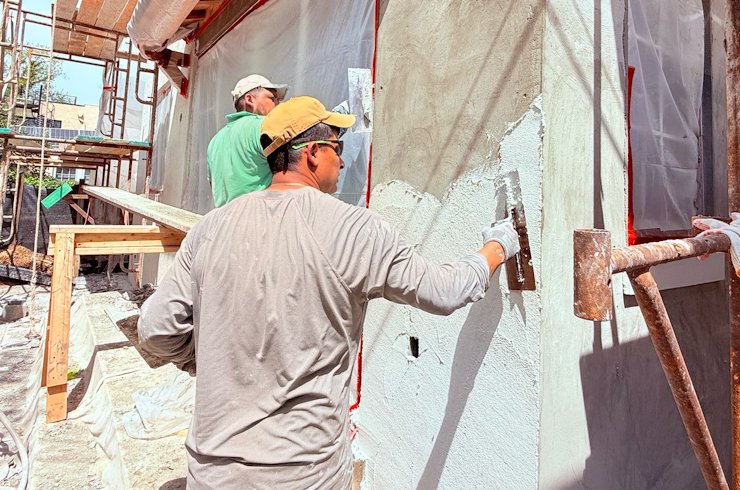
Most finishes are put on from the top down. Blobby finishes are best putting the finish on from the bottom up, allowing blobs to drip on the finish.

Just like 1926 again.