More info...
More info...
More info...
More info...
|
|
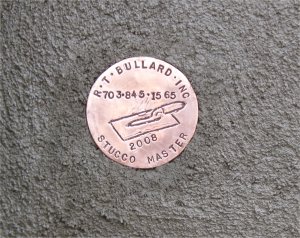
| Tom made this nice copper plaque which we embedded in the
stucco. It
was really 2009 and not 2008, in case you're wondering.. More info... |
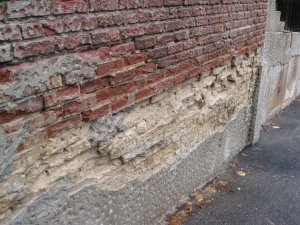
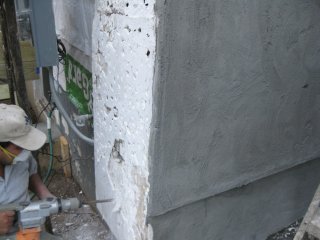
Paint is chipped off brick and old concrete.
Crumbly old
sand brick are crumbled down to where they are pretty solid. We fill
inthis
area with some high strength stuff to hold it all together. More info... |
|
|
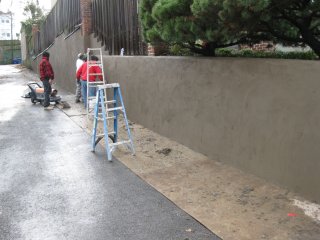
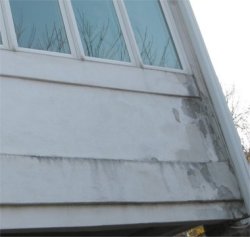
| Look any better ? Wall finished with REAL portland cement and
REAL
sand. Color is stucco color from Expo stucco. More info... |
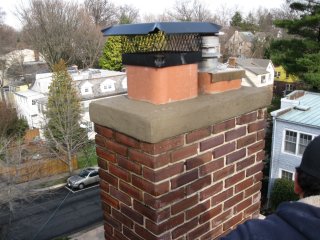
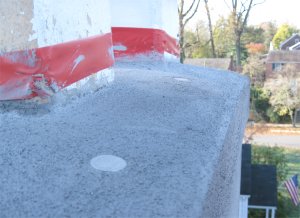
Top of chimney is redone,and color matches retaining wall. More info... |
 |
 |
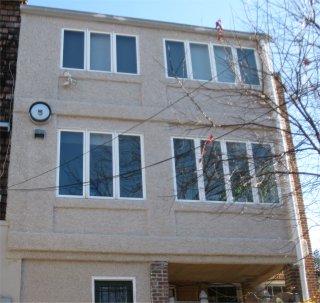
| Finished wall. Usually our pebble dash jobs are
done with
grey portland cement and are painted afterward. The reason we haven't
done
any color pebble dash, is that color work requires white portland
cement,
which sets a lot faster, not giving us much time to finish the wall.
Now
we have a little more confidence, we plan to do more in the future. More info... |
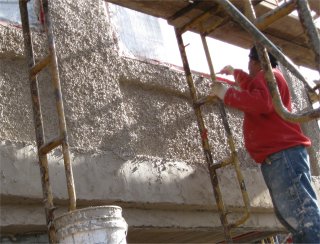
A color sand mix is trowel on
and then the color
pebble
mix is thrown on. Here, Mynor cuts in a drip groove below the window
sill. More info... |
 |
Old stucco was done just less than 20 years ago
and was
falling apart. See how we tore the old stucco off |
 |
 |
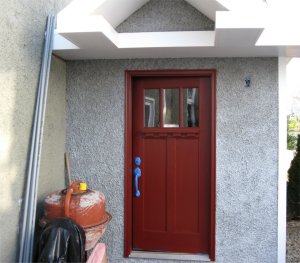
| Finished house looks new again. Finish is REAL portland cement and REAL sand. Color is from Expo Stucco in San Diego. More info... | Old stucco is chipped using an electric chipping hammer. This allows new mortar to key on the old basecoat. To the right of the arch opening, you can see our bonding coat applied. This is a mixture of portland cement and sand with plenty of acrylic in the mortar for a permanant adhesion. More info... |
 |
 . . |
| Bonding coat is applied on the old stucco and the surface is
left rough
for the finish coat to bond well. More info... |
Susan B Anthony dollars are embedded in the mortar on top of
the chimney cap. One day, someone will climb up here
and see them. More info... |
 |
 |
| We stuccoed the side wall on this house in 2001. See what we did then | We screened the pebbles to match the original. |