>
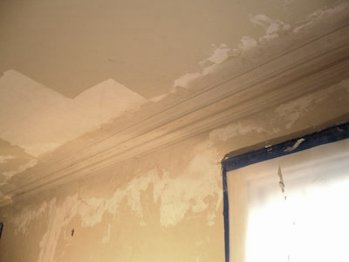
Ornamental plaster moldings restored in Washington, DC
Details on how we restored ornamental plaster mouldings in Washington, DC
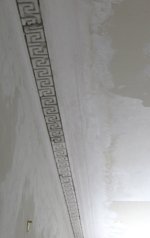
Just like 1926 again
Moulding in the living room re-done.
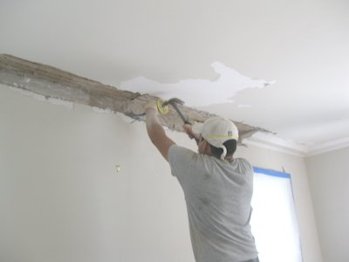
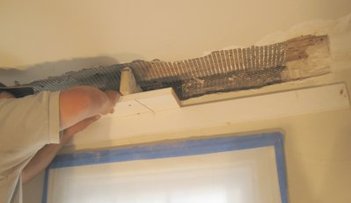
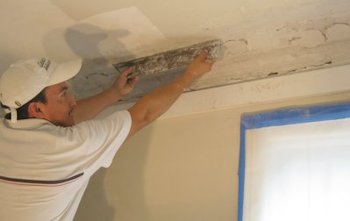
Here, the old moulding is removed.
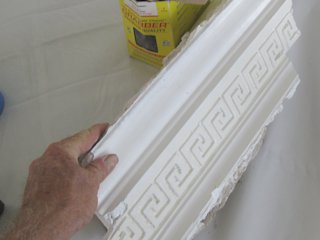
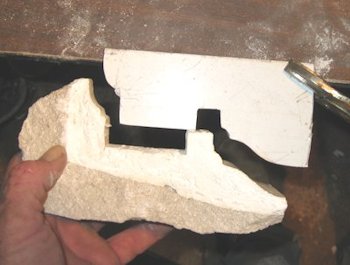
The best piece of the old moulding is saved to make a template.
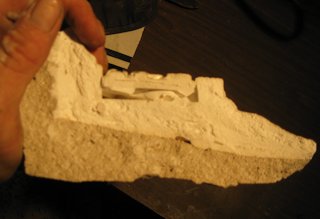
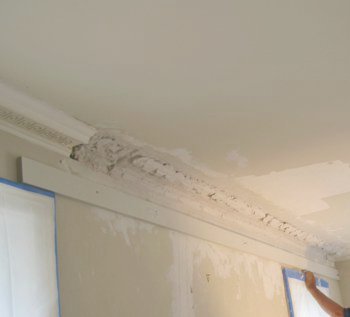
A cross section of the old moulding reveals that the moulding was run in place, and the Greek keys were stuck on later.
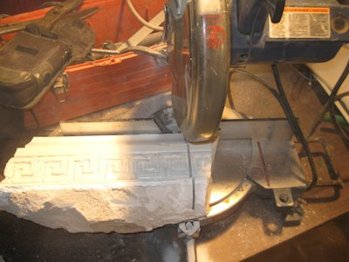
The moulding is squared up first by cutting with a miter saw.
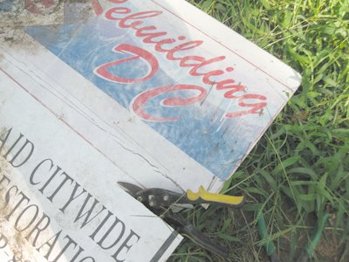
I cut another piece of aluminum from my rebuilding DC sign. You may have seen it before. I have been using this sign for eight years.
A by cutting and filing a little at a time.

The mold template is screwed to a wood backup. The last two details are screwed on and bent back. These not only make the last step, but allow the mold template to slide easily.
A wood strip is nailed to the wall for the template to slide on.
The ceiling is trued up with a miter rod. The ceiling must be dead straight for the moulding to look right.
The moulding is filled with moulding plaster and lime and run with the mold template as the mortar starts to set.
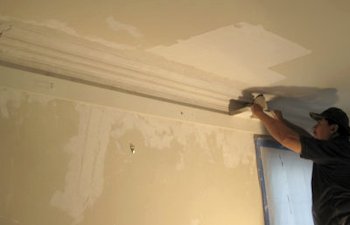
After several passes, our moulding is shaping up.

The joins are tooled in with a mitering rod
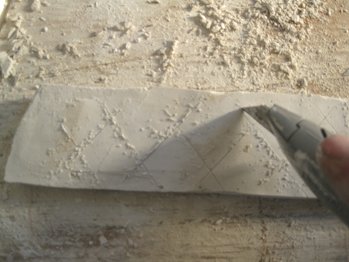
I got this mold rubber from smooth-on. It is made for casting details on the wall. After four coats, I had a decent copy.
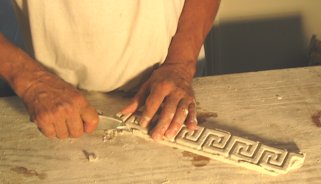
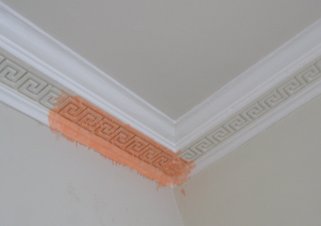
The casts are trimmed to fit using a knife.
The back of the cast is scored to provide a good bond. The casts are the stuck on using moulding plaster and lime.
All there is left now is to fill the joints.
