were badly cracked and loose.
overlapping the flashing about an inch.
a garbage can. Color is "Lily" from Sherwin Williams.

This drip cap is essential for the longevity of our chimney.
keep splatters off the roof.
|
|
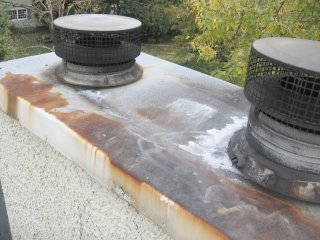
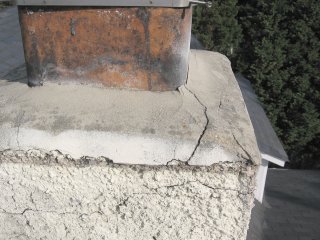
| Cap on the third chimney. Its not only badly rusted, it is lower in the center, instead of higher in the center, allowing water to puddle in the middle, instead of running off. This metal cap was nailed on by driving nails through the top, instead of the sides. We stuccoed over the cap to make a masonry appearing drip cap. | The mortar caps on the front two
chimneys
were badly cracked and loose. |
|
|
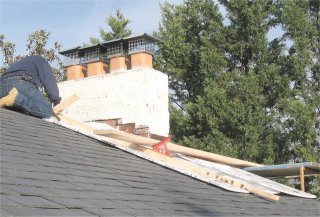
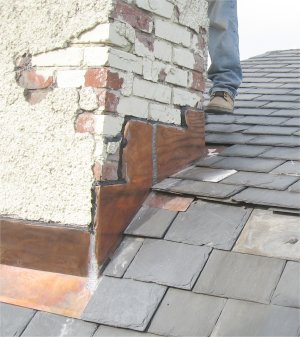
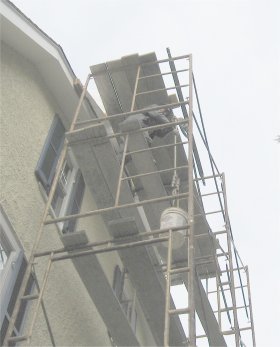
| We didn't break a single slate. I have broken a lot of slate in my time, though. Slate is cushioned by using styrofoam. Scaffold is built using roof jacks. | New copper flashing was put on by the roofers. A reglet was cut into the brick to insert the flashing. |
|
|
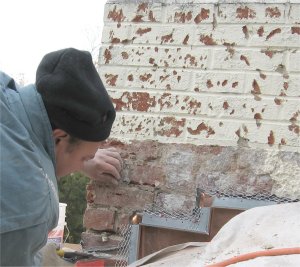
| Old stucco chipped off and paint on brick is chipped. Here a
3/4" plaster
stop is nailed on
overlapping the flashing about an inch. |
Everything covered up extra good to keep mortar from splattering on roof. |
|
|
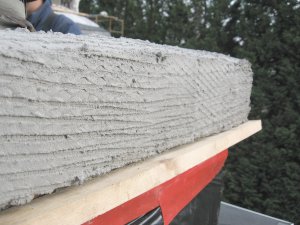
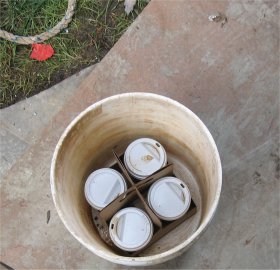
| Drip cap is formed by attaching a one by three to the bottom edge of the cap and filling in with mortar. | Coffee is put into buckets. |
|
|
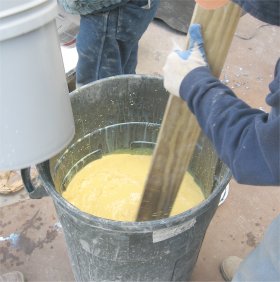
| Coffee is then air-lifted to troops above using pulley and rope. | Liquid mix is water and chemicals to retain the color in the
mix. Paint
colorants are mixed in
a garbage can. Color is "Lily" from Sherwin Williams. |
|
|
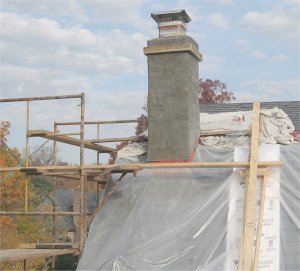
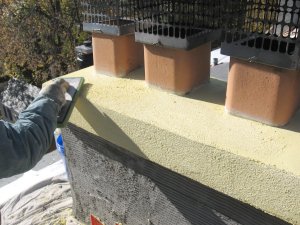
| The drip cap is finished using a sand mix and a
float finish.
Not only does this give a nice cast masonry appearance, the smoother
mortar
aids water run-off.
This drip cap is essential for the longevity of our chimney. |
Maynor throws on the pebble mix. Note Margarito
on the right,
holding a drop cloth to
keep splatters off the roof. |