 |
|
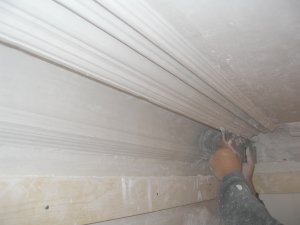
| Mouldings are straight. Inside is tooled with a miter rod. |
Mold template, also called a running mold is used to run the molding in place.
|
 |
|
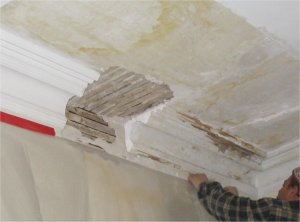
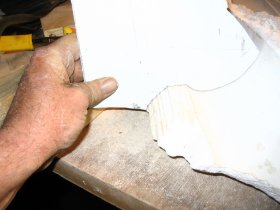
| Badly water damaged moulding had been patched numerous times. |
Section is removed to make a template.
|
 |

|
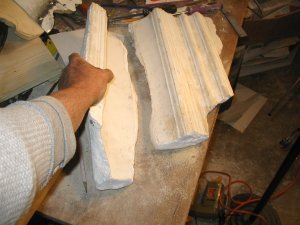
| We got the section off in two pieces. |
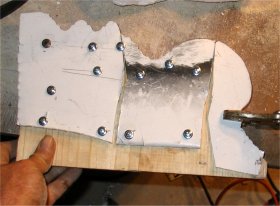
I got an aluminum sign to make templates out of from the
scrap metal yard on Kenilworth Avenue. Rebuilding DC seemed appropriate
for this project.
|
 |
|
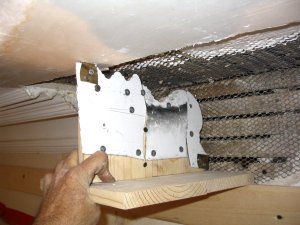
| Metal is filed and fitted by filing a little at a time. |
I made the metal in 3 pieces and screwed it to a wood back up. It took me 12 hours to make this template.
|
 |
|
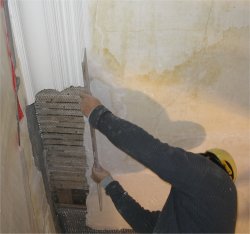
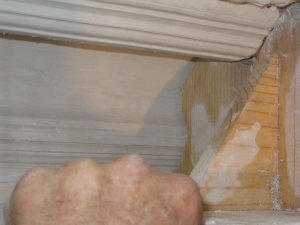
| Mouldings and sagging area of ceiling torn out. |
Ceiling is filled with metal lath and moulding plaster and lime. Ceiling is straightened with a rod. The ceiling must be dead straight at the moulding for all this to work.
|
 |
|
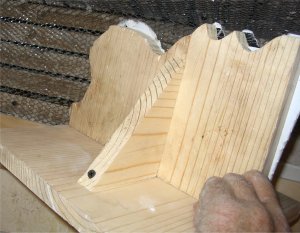
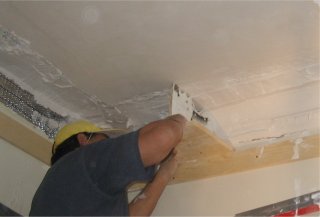
| Template is screwed to a bottom piece, or a sled, and a brace is attached. |
After putting up metal lath, moulding is filled a little at a time and run with the template.
Straight lumber is screwed to the wall for the sled to ride on.
|
 |
|
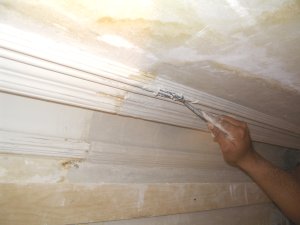
| A close up showing the moulding detail. |
The gap between the mouldings is filled and tooled. Here, a special tool is used to fill the round members.
|
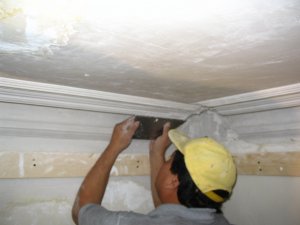 The inside corners, or miters, are tooled in with rods called mitering rods. The inside corners, or miters, are tooled in with rods called mitering rods. |
|